BE(Laravel) installation in Window
Version Required
PHP 8Laravel 9
Configuring Local Hostnames
Mapping Local IP for Custom Hostnames
-
Open the
hostsfile located atC:\Windows\System32\drivers\etc\hosts. -
Add the following line at the end of the file:
127.0.0.1 api.example.test
Configuring Apache Virtual Hosts
-
Open the virtual hosts configuration file located at
C:\xampp\apache\conf\extra\httpd-vhosts.conf. -
Add the following virtual host configuration at the end of the file:
<VirtualHost *:80>
    DocumentRoot "path_to_your_project\public"
    ServerName api.example.test
</VirtualHost> -
Restart Apache from the XAMPP Control Panel.
Source Installation
Copy Environment File
Run the following command in your project root:
copy .env.example .env
Install Dependencies
Download required packages using Composer:
composer install
Create Database and Seed Data
Run the following command to create database tables and seed initial data:
php artisan migrate --seed
Generate OAuth Client Keys
Run the following command to generate keys for Laravel Passport:
php artisan passport:install
Copy the secret of the client with ID = 2 for later use.
Generate Application Key
Run the following command to generate the application key:
php artisan key:generate
Configure the .env File
Edit the .env file with the following settings:
APP_NAME="App Name"
APP_URL=http://api.example.test
API_URL=http://api.example.test

SITE_URL=http://example.test
ADMIN_URL=http://admin.example.test

DB_CONNECTION=mysql
DB_HOST=127.0.0.1
DB_PORT=3306
DB_DATABASE=your_database_name
DB_USERNAME=your_database_user
DB_PASSWORD=your_database_password

CLIENT_WEB_ID=2
CLIENT_WEB_SECRET=paste_your_client_secret_here
Start the Application
You can start the application using one of the following methods:
Using Artisan Command
php artisan serve
Using Configured API URL
Access the application directly via http://api.example.test if configured correctly.
Common Errors
MySQL Error in XAMPP
Error: MySQL Shutdown Unexpectedly
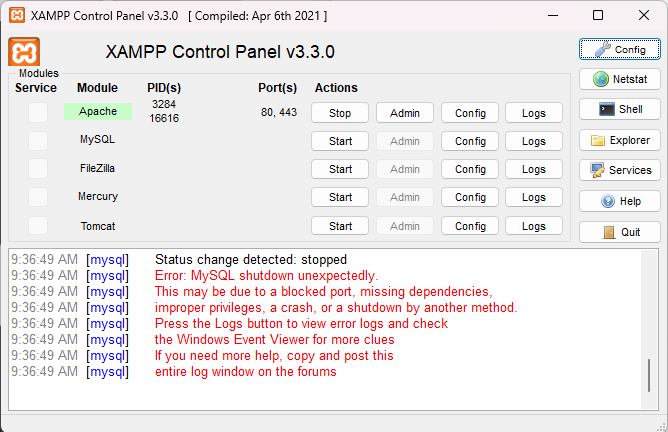
This is a common issue with XAMPP MySQL. Follow these steps to resolve it:
-
Navigate to the MySQL folder in XAMPP:
C:\xampp\mysql -
Rename the current
datafolder (e.g.,data-backup).
-
Copy the
backupfolder and rename it todata. -
Restart MySQL from the XAMPP Control Panel.
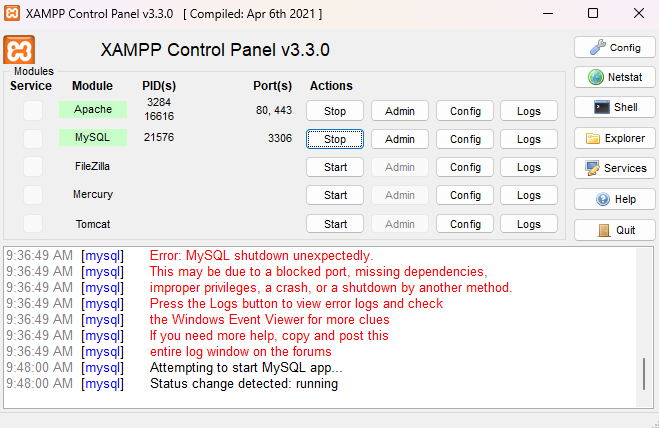
MySQL should now be working.
Note: This solution restores MySQL to the last backed-up state, which may result in data loss. Consider alternative fixes if preserving data is critical. Add suggestions here if you have better solutions.